Installing solar lights in your garden transforms your outdoor space. However, ensuring they are set up correctly is crucial for optimal functionality. Many people often underestimate the importance of correct installation. This can lead to diminished brightness or even malfunction. Understanding how to install solar lights correctly in the garden can make all the difference.
The position and orientation of the lights impact their effectiveness. Planting them in shaded areas will reduce their charging capabilities. Choosing the right solar lights also matters. Not all are designed for every environment. It's essential to consider the specific features of each product. Furthermore, testing the lights before permanent installation can highlight potential issues.
Proper installation should involve planning and adjustments. Mistakes might happen, and it’s important to learn from them. An unlit corner can indicate a misplacement. Always ensure the panels receive ample sunlight. In the end, the goal is to create a beautifully illuminated garden that enhances security and ambiance.
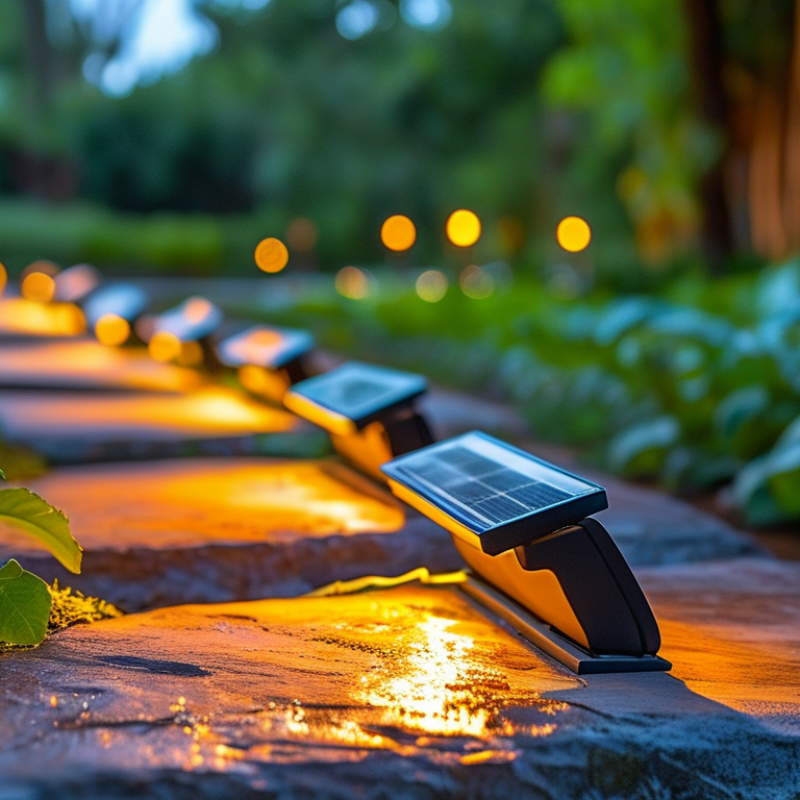
Solar lights can transform gardens into magical spaces. They offer both aesthetic appeal and practical advantages. According to the U.S. Department of Energy, solar lighting can reduce household energy bills by up to 50%. This is due to their reliance on sunlight instead of electricity. As they require minimal installation, solar lights are also ideal for many garden layouts. They typically need just a few hours of sunlight to function properly overnight.
Environmental benefits are another significant advantage. Solar lights do not emit greenhouse gases, promoting a sustainable gardening practice. A report from the International Energy Agency states that using solar products can reduce carbon emissions by millions of tons annually. However, some users may find their brightness insufficient for larger spaces. It's essential to assess the specific lighting needs of your garden area. Additionally, the initial investment might seem high, but the long-term savings often outweigh the cost.
Maintenance is another area worth considering. While solar lights usually require minimal upkeep, cleaning the solar panels regularly is crucial. Dust and debris can hinder their efficiency. Some users report issues with battery life, which can vary significantly among products. Understanding these factors will help ensure that you choose the right solar lights for your garden.
When choosing the right solar lights for your garden, it's essential to consider the specific needs of your space. According to a report by the U.S. Department of Energy, solar lighting can reduce your energy bill by up to 50%. However, the effectiveness largely depends on the selection of the right type of lights. For instance, pathway lights are ideal for illuminating walkways, while spotlights can highlight specific plants or features.
Pay attention to the brightness of the solar lights. Measured in lumens, a range of 100-200 lumens is effective for general ambiance. For stronger illumination, consider options that provide 300 lumens or more. Additionally, select fixtures that suit your garden's style. Some lights blend seamlessly with natural surroundings, while others may stand out as decorative pieces.
It’s worth remembering that the position of solar lights affects their performance. Install them where they'll receive sufficient sunlight throughout the day. A common mistake is placing lights in shaded areas, which may hinder their efficiency. Regularly check the solar panels for dirt or debris to maintain their charging capability. Proper installation can significantly enhance your outdoor experience.
When placing solar lights in your garden, think about their location carefully. A well-lit path can enhance safety and aesthetics. Position lights along walkways to illuminate the route at night. Consider the natural flow of foot traffic and place lights in areas where people are likely to walk. This will prevent accidents and create an inviting atmosphere.
The amount of sunlight your solar lights receive is crucial. Choose spots where they will receive direct sunlight for several hours each day. Avoid shaded areas near trees or tall structures. However, some gardens have unique features that may cast shadows. It can be a challenge to balance aesthetics with functionality. Regularly assess how sunlight affects the performance of your lights throughout different seasons.
Height matters too. Installing solar lights too low can hinder their effectiveness. Conversely, placing them too high may diminish their glow. Aim for a height that balances visibility with design. Each garden is different, and some trial and error may be necessary. This process can be tedious but is essential for achieving optimal light distribution.
Installing solar lights in your garden can enhance its beauty while providing functional illumination. To do this safely, follow a step-by-step guide. Start by selecting the right location for your lights. Look for areas that receive ample sunlight during the day. This ensures that the solar panels charge effectively. Avoid placing them under heavy foliage. Shadows can significantly reduce their efficiency.
Next, prepare your ground before installation. Clear any debris and level the area for stability. Ensure the ground is soft enough for stakes. If the soil is too hard, consider using a mallet for easier installation. Don’t rush this step; an unstable light can topple easily. After positioning your lights, check their angle. Proper alignment toward the sun optimizes power absorption.
Lastly, always test the lights before finalizing their arrangement. This can help identify any potential issues. If they don’t turn on, consider re-evaluating their placement. Installation should be a careful process that allows for adjustments. Creating an inviting garden is rewarding but demands attention to detail.
| Tip Number | Tip Description | Benefits |
|---|---|---|
| 1 | Choose the Right Location | Maximizes sunlight exposure for efficient charging. |
| 2 | Clear Obstructions | Ensures lights have unobstructed sunlight access. |
| 3 | Install at the Right Height | Improves visibility and light spread over the area. |
| 4 | Ensure Proper Ground Condition | Facilitates stable installation and longevity of lights. |
| 5 | Consider Landscape Features | Enhances garden aesthetics and light performance. |
| 6 | Use Quality Solar Lights | Ensures longevity and optimal performance. |
| 7 | Follow Manufacturer Instructions | Guarantees proper functionality and safety. |
| 8 | Test Solar Lights Before Installation | Confirms that lights are functioning correctly. |
| 9 | Regularly Maintain Lights | Ensures consistent performance and brightness. |
| 10 | Plan for Seasonal Changes | Adapts lighting layout according to seasonal sunlight. |
Maintaining solar lights in your garden can greatly extend their lifespan. Regular cleaning is crucial. Dust and dirt can accumulate, blocking sunlight. Wipe the solar panels with a damp cloth at least once a month. This promotes better charging. Pay attention to the bulbs too. Replace any that flicker or fail to light up.
Proper placement is another key factor. Avoid shaded areas. If your lights aren't exposed to sunlight, they won't charge well. Consider the seasons; leaves can block sunlight in summer. Adjust the position if necessary. Over time, battery performance may degrade. An annual inspection can help identify issues early.
Always check for wires and connections. Look for signs of wear or damage. Ensure that nothing obstructs the light's path. Sometimes, reflection from nearby obstacles can reduce efficiency. Solar lights can require a little trial and error. It's essential to keep an eye on their performance, as inconsistencies can signal needing adjustment or repair.
: Look for areas along walkways. Ensure they align with natural foot traffic to enhance safety.
Solar lights need direct sunlight. Aim for spots that get sunlight for several hours every day.
Avoid shaded areas like those under trees or tall structures. Shadows can reduce the lights’ effectiveness.
Avoid placing them too low or too high. Find a height that provides good visibility without sacrificing design.
Clear debris and level the ground. Ensure it's soft enough for installation to prevent instability.
Testing identifies any issues with functionality. If they don’t turn on, revisit their placement for adjustments.
Yes, this process may require trial and error. Patience is essential to achieving optimal light distribution.
Adjust the angle towards the sun. This maximizes power absorption and enhances the lights’ efficiency.
Use a mallet to help drive stakes into hard soil. Don’t rush this step; stability is key for successful installation.
Not necessarily. Balancing aesthetics with functionality can be a challenge that requires reflection and adjustments.
Installing solar lights in your garden can enhance its beauty and functionality while providing eco-friendly lighting solutions. To understand how to install solar lights correctly in the garden, start by exploring the benefits they offer, such as energy efficiency and easy installation. Choosing the right type of solar lights tailored to your specific needs is essential for achieving the desired ambiance and illumination.
When it comes to placement, consider factors like sunlight exposure and proximity to your garden features. Following a step-by-step guide ensures safe installation, while regular maintenance will help prolong the lifespan of your solar lights. By combining these insights, you can effectively brighten your garden while contributing to a more sustainable environment.

Midmo Lights